Why a Retreat Kit Timeline Saves Your Sanity
Some retreat hosts believe merch magic happens overnight. It does not. In fact, it’s basically impossible. If you wait until the last second, all you have available is trashy cheap (in terms of quality… it’s actually crazy expensive) garbage.
High-quality retreat kits require time, strategy, and enough breathing room so you’re not sprinting to the post office hours before check-in. A clear production schedule turns chaos into calm, and it also helps you budget more effectively.
A well-planned timeline gives you control over the creative process—colors, fabrics, fit, packaging, even the “wow” moment when attendees first open their kits. Without that timeline, you’re gambling your brand reputation on whatever the supplier can rush ship by Tuesday.
The smartest hosts build their retreat kit planning into their overall event timeline. This ensures that merch aligns with the retreat’s brand, location, and attendee experience rather than being a last-minute afterthought. Retreat kits should feel intentional, not improvised.
6+ Months Out: Vision and Budget
Start early. At six months, you’re not worrying about fabric colors or mug shapes—you’re thinking about the big picture.
- Define Your Goals: Is your kit primarily for branding, attendee comfort, or both?
- Set Your Budget: Be realistic about what you can spend per person. Include shipping and packaging costs.
- Identify Your Theme: Make sure your merch concept connects to your retreat’s core message and location.
This is also when you should research vendors. Great vendors get booked early, especially during seasonal peaks, and quality products often require longer production windows. If you want embroidered fleece, premium tumblers, or custom journals, securing vendors at this stage saves you from headaches later.
Six months out also gives you space to explore creative options rather than defaulting to the same old T-shirt-and-water-bottle combo. If your retreat is in the mountains, maybe you want campfire-themed kits. If it’s a business mastermind, a productivity kit makes more sense. Theme exploration takes time—and it’s worth it.
4–5 Months Out: Shortlist and Sample
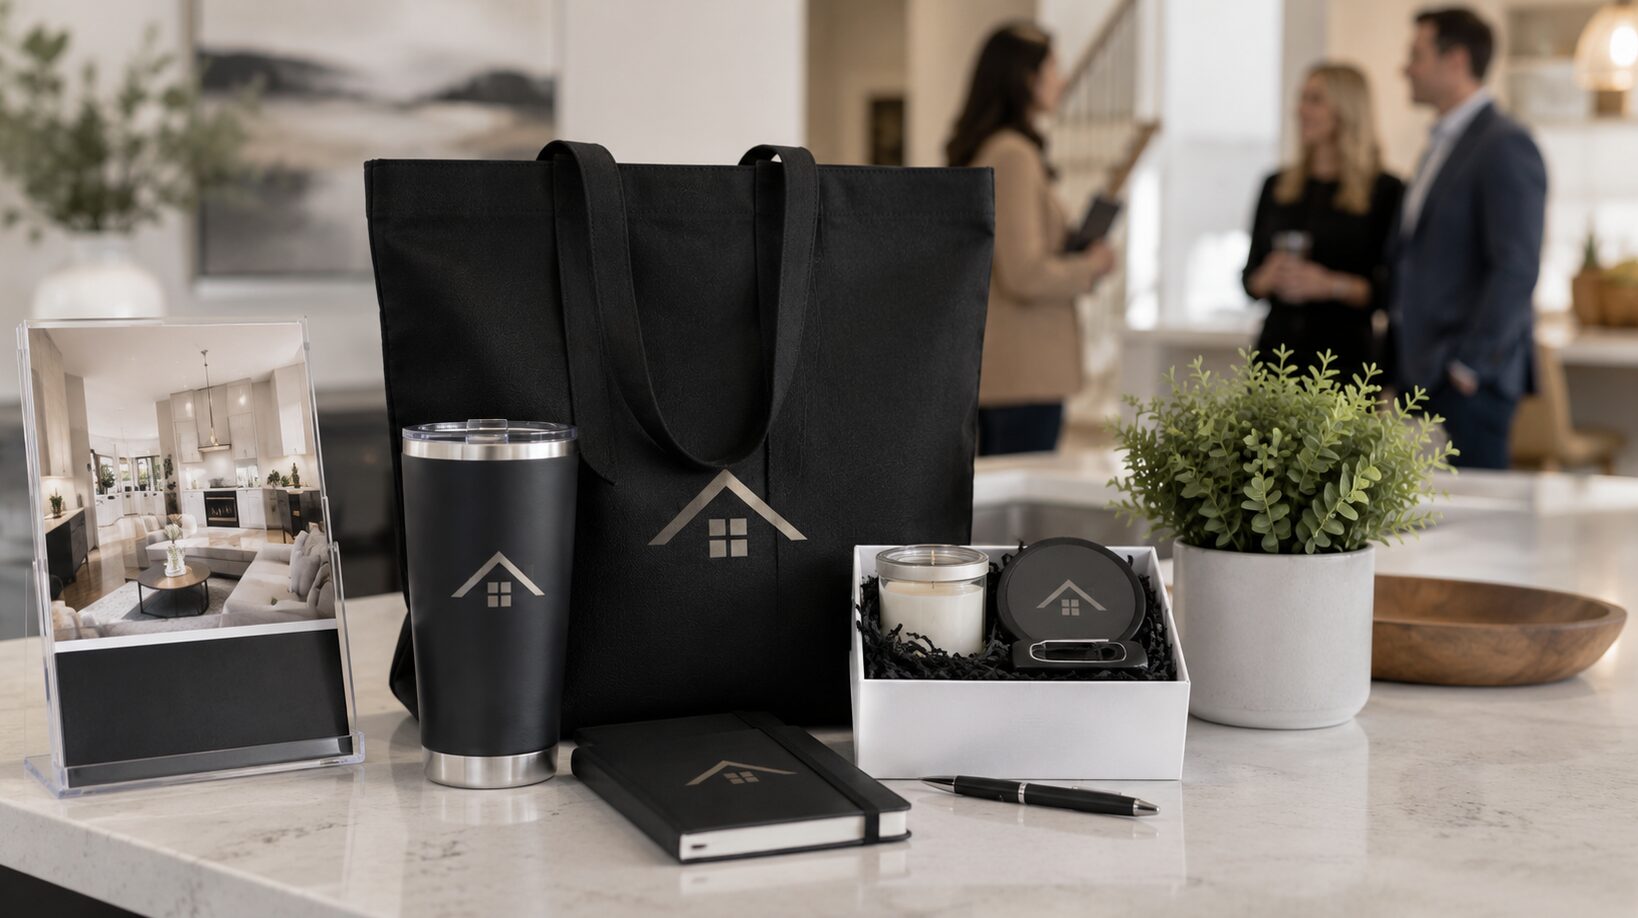
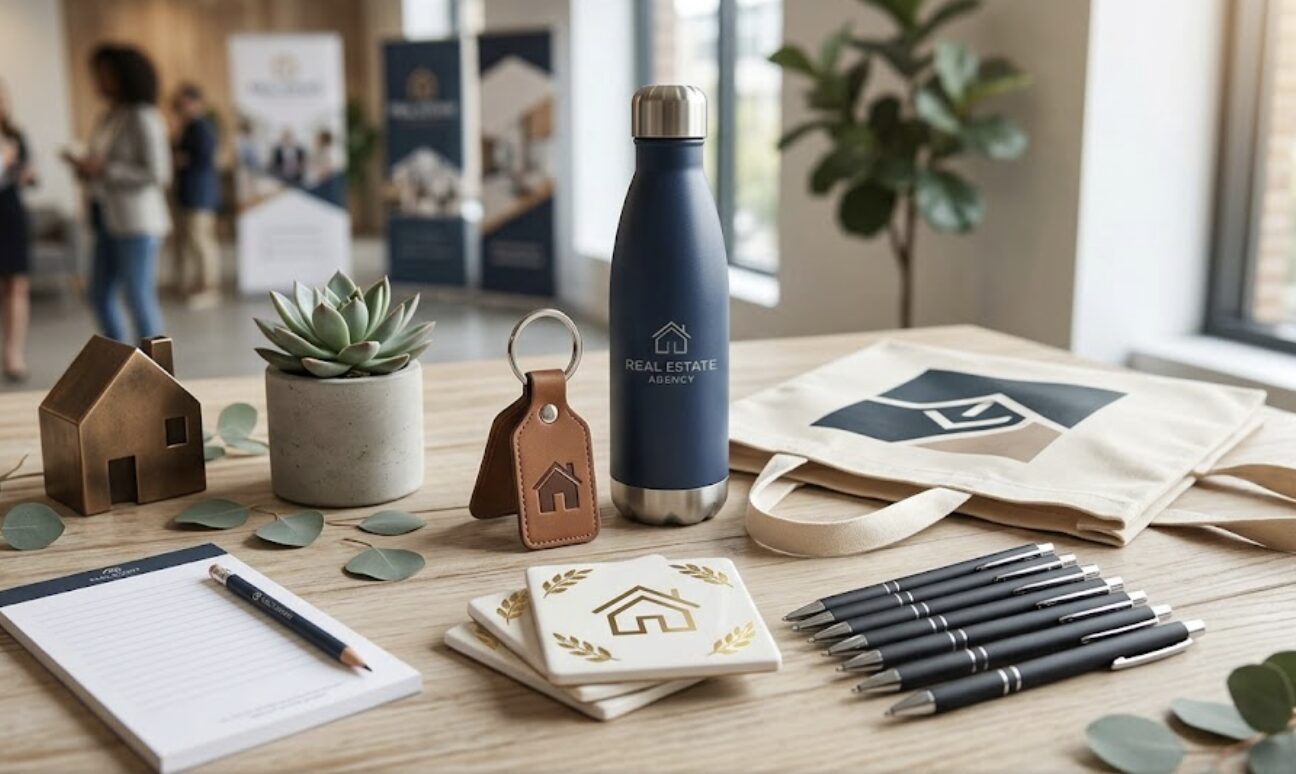
At this point, your ideas can finally touch reality. You should have your three to five anchor pieces selected—items that will define the identity of your kit.
- Order Samples: You cannot judge quality from a catalog photo alone.
- Test Usability: Make sure items feel good in hand, pack well, and won’t break in transit.
- Check Brand Fit: Ensure your logo or design translates well to the item’s material and color.
This is the season of “collide ideas with reality.” Maybe the tote fabric is too thin. Maybe the mug’s color is off. Maybe your logo looks fuzzy on a certain texture. This is when you catch that stuff—not two weeks before your event.
And the other benefit? Sampling helps avoid the biggest retreat merch disaster of all: items that technically arrive on time but feel embarrassingly cheap in person.
3 Months Out: Finalize Orders
Merch production timelines vary, but three months out is a safe point to lock in your vendor orders.
- Approve Proofs: Get final design proofs from each supplier before production starts.
- Confirm Delivery Dates: Factor in at least a one- to two-week buffer in case of shipping delays.
- Plan for Extras: Order 5–10% more than your attendee count for last-minute sign-ups or damaged goods.
This window also protects you from seasonal shortages. For example, winter blankets sell out early, as do summer-branded items like sunglasses or outdoor gear. Locking in now means you get your first choice—not whatever is left.
Before You Order Any Swag, Read This
The Branded Merch Playbook walks you through proven frameworks for creating kits that feel thoughtful, premium, and on-brand. From product picks to pricing insights to examples from real organizations, this guide helps you avoid costly mistakes and build merch that actually reinforces your reputation.
Get the Playbook2 Months Out: Packaging and Presentation
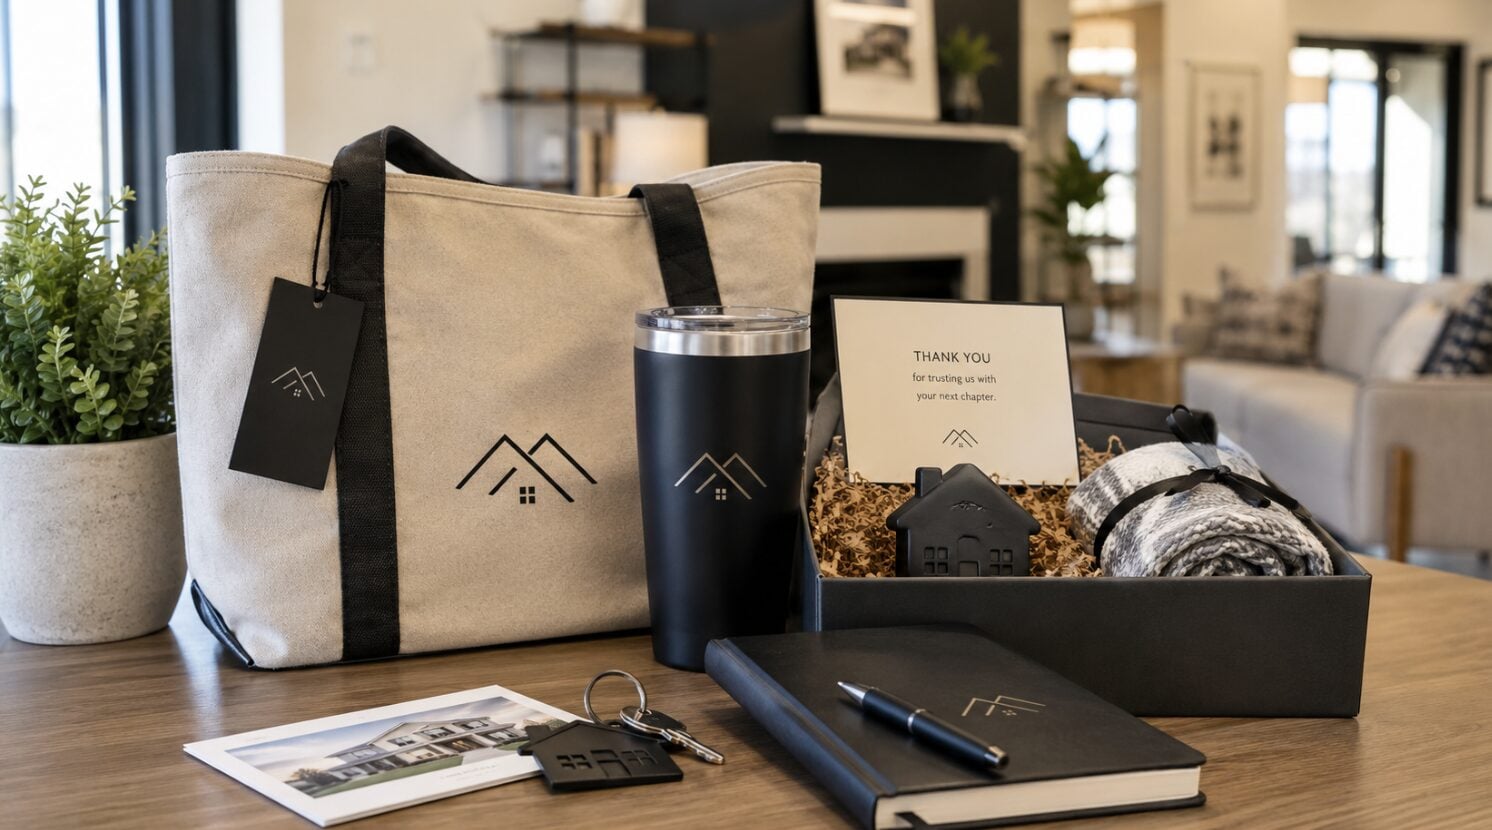
A great retreat kit is about more than what’s inside—it’s about how it’s revealed.
- Select Packaging: Boxes, bags, tissue, and ribbon all contribute to the unboxing experience.
- Brand It: Add stickers, tags, or stamps to make your packaging feel intentional.
- Personalize: If possible, include attendee names or custom notes.
This is also a good time to prepare inserts—welcome cards, schedules, local guides, or themed postcards that connect to the retreat experience. And if you want attendees to feel the “wow factor” at your merch table, take inspiration from how to treat your merch table like a frontline admissions team. That piece focuses on schools, but the psychology applies perfectly to retreats.
1 Month Out: Logistics and Contingency
This is your “check everything twice” window.
- Inspect Deliveries: Open every box and verify item counts and quality.
- Begin Assembly: If kits are shipping to attendees, assemble now to avoid last-minute packing marathons.
- Confirm Backup Plan: Have an alternate vendor or item ready in case a key product arrives damaged.
If anything needs to be reprinted or replaced, this is the last moment to catch it without entering panic mode. You should also finalize your on-site distribution plan. Will kits be placed in rooms? Handed out at registration? Revealed during a surprise moment?
Every choice creates a different emotional tone.
2 Weeks Out: Staging and Storage
At two weeks out, everything should be in your hands—literally.
- Store in a Clean, Dry Place: Avoid damage from humidity or dust.
- Pre-Stage by Session: If different items will be given at different times, organize them accordingly.
- Photograph Your Kit: Capture professional-quality images for future marketing and social proof.
Photos become powerful tools for showcasing past events and setting expectations for future retreats. You can even use them when planning seasonal retreat merch ideas next year.
Event Week: Delivery and Experience
The big moment—when months of planning turn into a real attendee experience.
- Coordinate Timing: Make sure your team knows when and how kits will be distributed.
- Integrate with the Program: Tie the kit reveal to a session, activity, or welcome moment.
- Encourage Sharing: Give attendees a branded hashtag to post their kit on social media.
Remember: a retreat kit isn’t just stuff in a bag. It’s one of the clearest signals of the care and intentionality behind your event. When done well, it becomes something attendees rave about long after the retreat ends.
Post-Event: Evaluate and Archive
Once everything wraps up, take time to evaluate your merch process.
- Survey Attendees: Learn which items were the biggest hits.
- Track Costs and ROI: Compare spend versus attendee engagement and future registrations.
- Document for Next Time: Keep detailed notes on timelines, vendors, troubleshooting, and attendee reactions.
This step is often skipped—but it’s where your next retreat becomes easier, faster, and more efficient. The best retreat hosts treat their kit timeline as a living document that evolves over time.
Final Thought: Time Is Your Best Asset
When you start early, you give yourself options—better products, better quality, and better attendee experiences. The retreat kit timeline is not just about avoiding chaos; it’s about creating a seamless brand moment that reflects the care and excellence you’ve poured into your entire event.
A retreat kit isn’t just a welcome gesture. It’s a strategic asset—and time is the ingredient that makes everything possible.


0 Comments